Part 1: Fermenting Ambrosia From Scratch
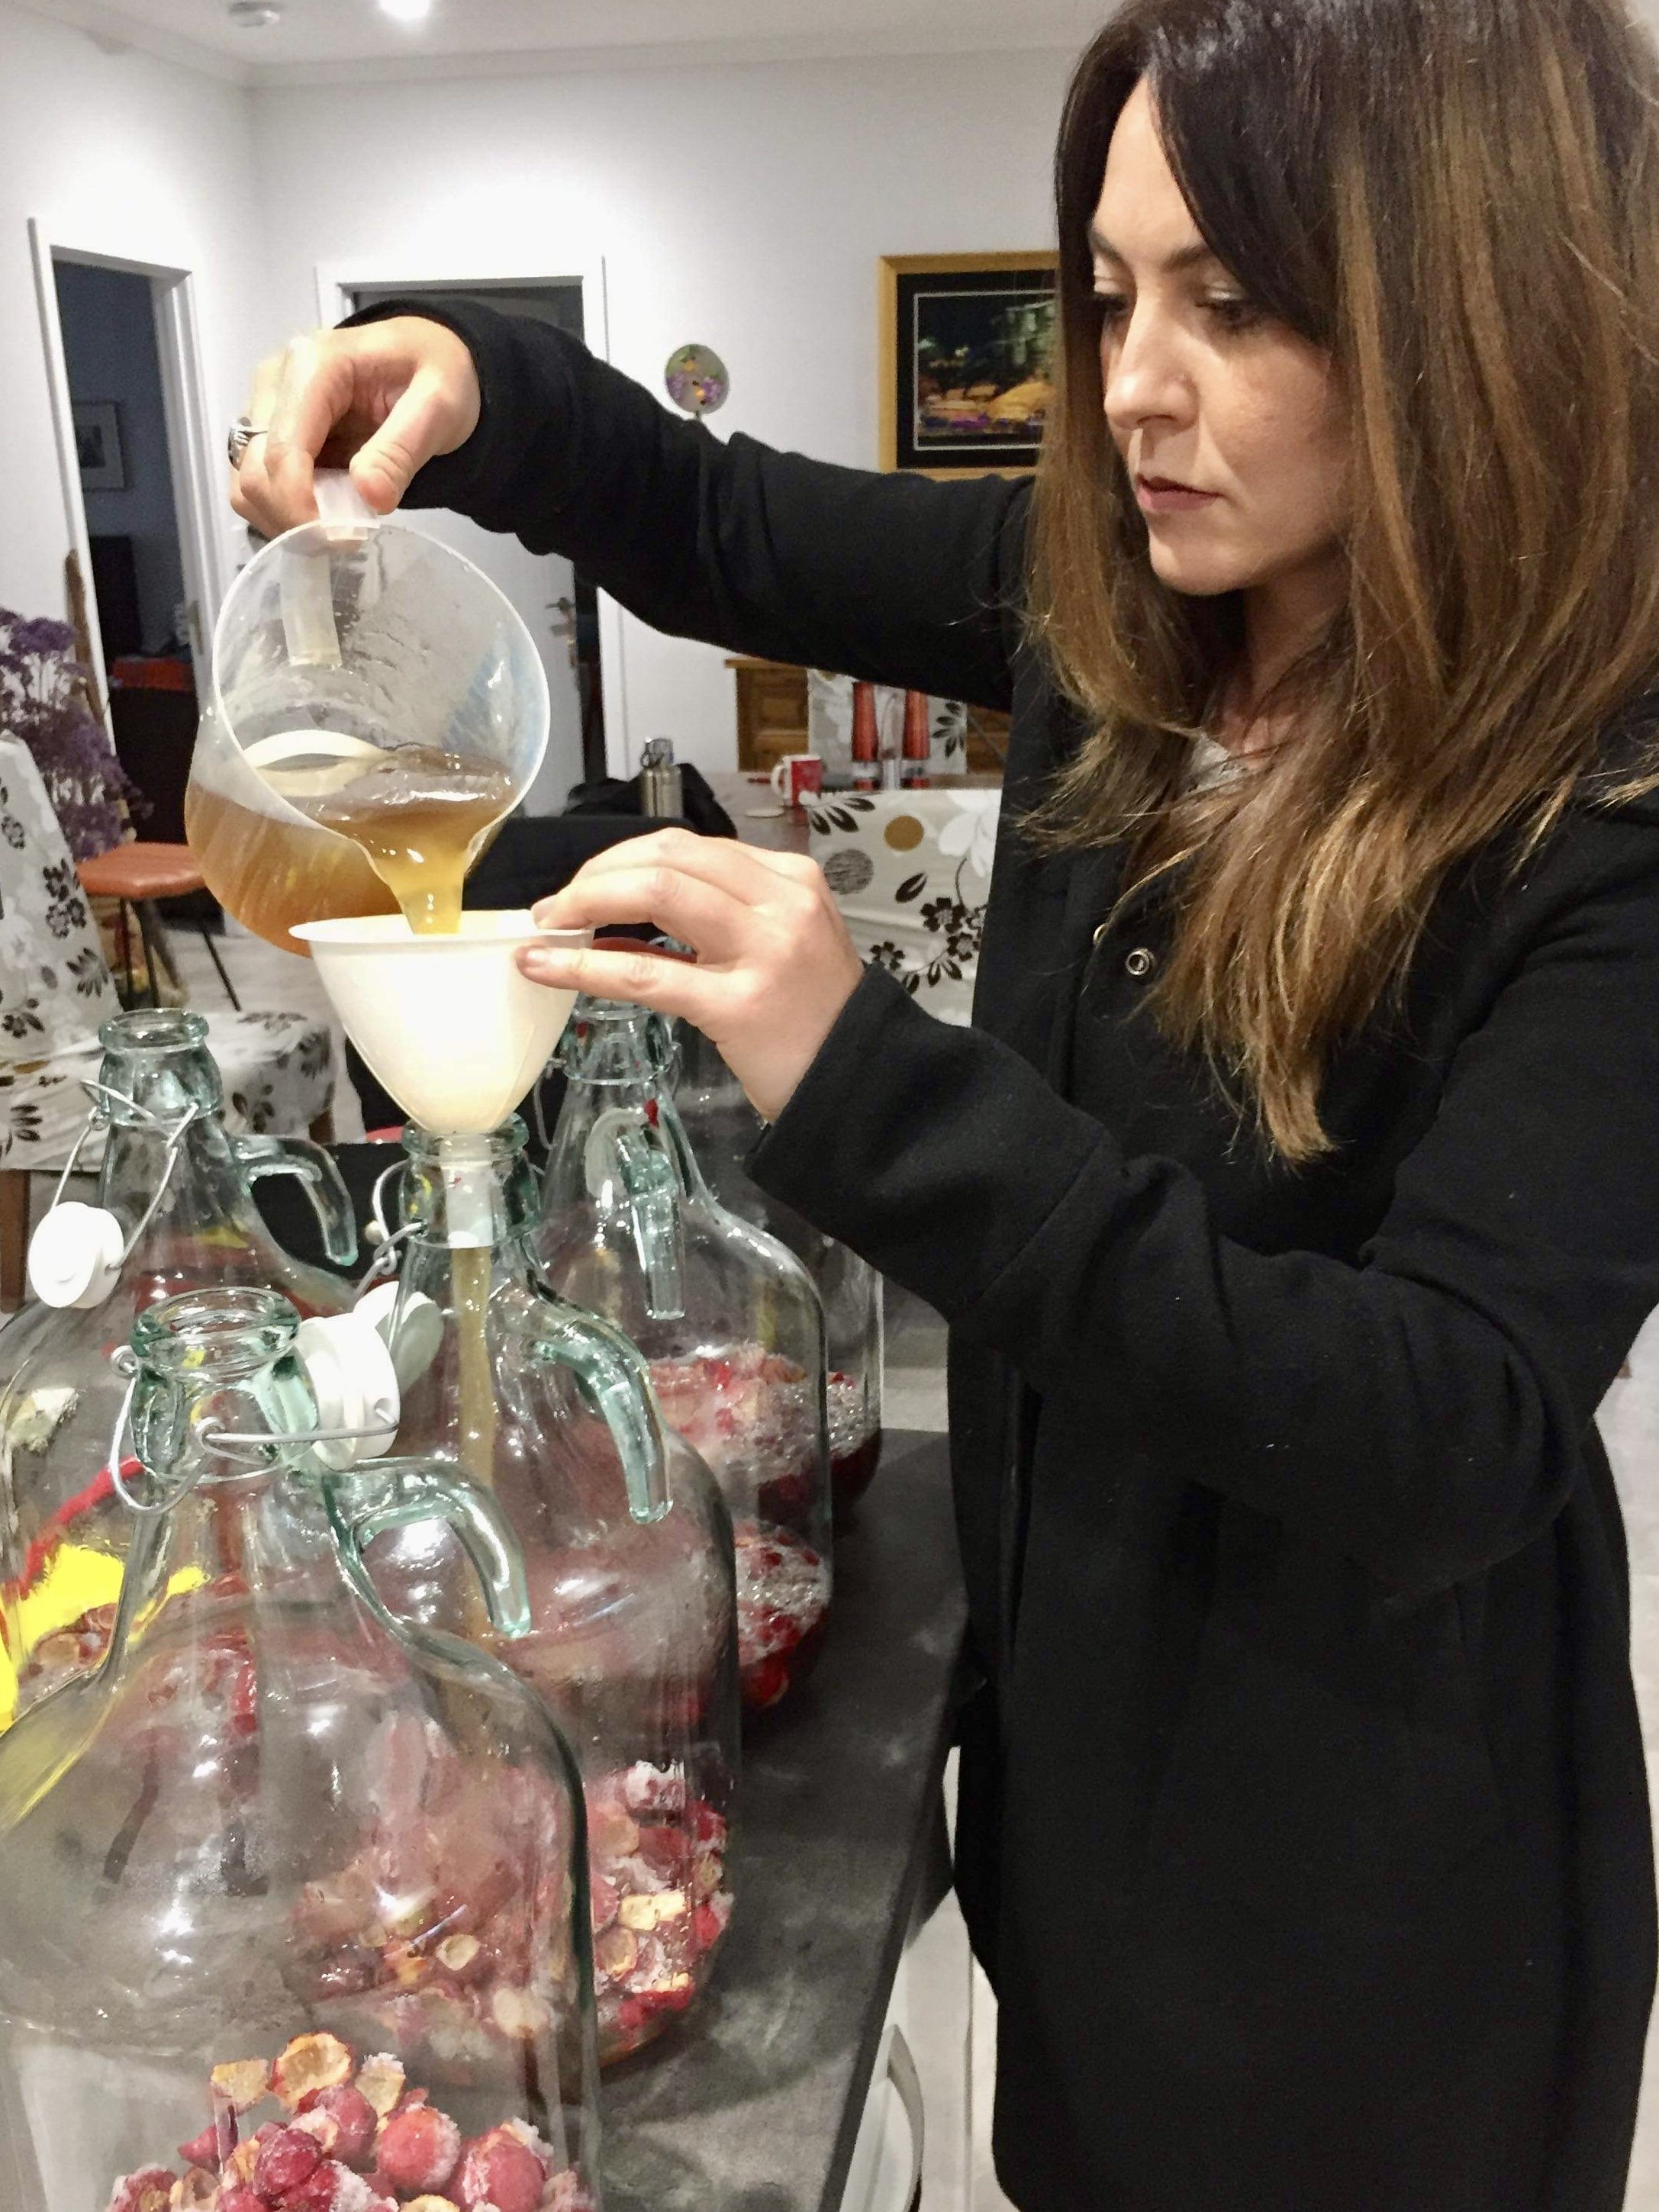
Lou getting a quandong ambrosia started in Mintaro, SA for a special event at the 2022 Quorn Quandong Festival.
Introduction
Over the last few years, I have taught several courses on making ambrosia. In this series of articles, we will go over the fundamentals of making ambrosia in three parts;
Fermenting ambrosia from scratch.
Bottling ambrosia.
Disgorging naturally sparkling ambrosia (which is also relevant to wine pet nat).
There won’t be any recipes per se; rather, we will focus on fundamental principles which hold true for any ambrosia; the specifics we will leave up to you.
First Things First
When making ambrosia, you need to raw (i.e. unpasteurised) honey, preferably from a healthy environment that’s managed without the use of synthetic chemicals. The reason for this is that you want a viable, biodiverse yeast population that will not only complete the ferment for you, but also provide complex flavours and aromas, as well as self-regulate the micro-environment within the ambrosia itself. You can read more about the role of yeast in ferments here.
It doesn’t matter if the honey has crystallised a bit (if anything, this is a good thing, because it means that it’s unpasteurised) but it will things easier if you can gently warm up to melt the sugar crystals prior to getting started. Try submerging it in a sealed container in some warm water in the sink until it’s runny again.
The other thing that’s crucial is to use clean, filtered water or rainwater. Water with any of the chemicals that water authorities tend to put in, like fluoride, will not only kill off pathogens, they’ll kill off a lot of yeast and bacteria that form part of a healthy ferment microbiome. They also interfere with the flavour of the honey, and can cause protein haze or cloudiness in the finished product.
If you don’t have access to rainwater, a charcoal filter jug or under-sink attachment will remove pretty much everything you don’t want. We’ve also bought distilled water in the past, which is widely available and pretty cheap.
And finally, if you’re planning on infusing anything like fruits or botanicals in your ambrosia, just remember that the stronger the flavours and aromas of the ingredient, the less you’ll need to add - too much can be overpowering.
Alcoholic Strength = Sugar Concentration
Alcohol is the product of yeast fermenting sugars to get energy, producing ethanol (alcohol) and carbon dioxide as by-products. The more sugar there is, the more ethanol the yeast will produce.
One percentage of alcohol is produced through the yeast consuming 17g/sugar in any given litre of liquid. So, for example, if you wanted to produce an ambrosia that has a final ABV of 6%, you would need to have 102g of sugar in that litre of fluid. For an ambrosia at 9%, it would be 153g of sugar per litre. Below is a simple equation that you can use to determine how much honey to use in an ambrosia based on the desired alcohol level.
17g/sugar/L x desired alcohol content = grams sugar needed/L
Grams sugar needed/L x total ferment volume (L) = total grams sugar needed
Something to note is that honey isn’t just sugar. It also contains flavour compounds, yeast and bacterial spores, protein and a fair bit of water. The flavour compounds, spores, and proteins make up such a tiny proportion of honey that we don’t worry too much about them when making ambrosia. But the water component make up ~15-18% of honey’s total weight, so this needs to be taken into account in our calculation. If you have a refractometer, you can actually check how much water there is in your honey and be really accurate with your calculations. But if not, you’ll still be fairly accurate if you make the calculation as though the water content is somewhere in that window. To get the total weight of honey that you’ll need (and remember to always weigh honey, because one litre of honey is not the same as 1kg of honey) to add the percentage of water in your honey to your total grams of sugar needed, as below.
Total grams of sugar needed + water content (%) = total volume of honey needed.
As an example of how you can put all this together, let’s pretend we’re making an ambrosia with a desired ABV of 6% and a volume of 10L using a honey that’s 15% water. Here’s what the calculations would look like:
17g/sugar/L x 6% = 102g/L
102g/L x 10L = 1020g/sugar
1020g/sugar + 15%h20 = 1173g/honey
So you would need 1173g or 1.173kg of honey to make the ambrosia in this example. You should practice this example yourself to make sure that you understand how to do the calculations and compare your answer to the one here.
Cleanliness is Your Ferment’s Best Friend
Cleanliness is incredibly important when working with any type of fermented product. To prevent spoilage from unwanted microorganisms, you’ll need to keep everything really clean.
When working in a new space or with new equipment, I tend to make sure everything is sterilised with boiling water or steam. (You can actually make a little steamer with a wallpaper steamer that you can get from Bunnings for around $100 - more on this in another post). I do something along the lines of sterilising with steam or hot water as a minimum practice in new environments until I’ve been working there for quite a while. After a few months, you should have developed a local culture, so sterilisation is less necessary but it’s still important to keep surfaces really clean.
You could also use saline water as a disinfectant (salt will kill most pathogens; it’s one of the reasons why corned beef was popular before refrigeration). The salt concentration needs to be between 0.5-3% of the total volume, though I would suggest erring on the side of caution and going for the higher end of the spectrum.
I don’t tend to use chemicals unless the situations is really uncontrolled, in which I recommend something caustic like Destainex. Yes, it’s pretty nasty if you get it on you but, once it’s diluted with enough water, it’s harmless to the environment. It also has a soap component so it suds up, which helps with knowing when it’s all been washed off.
Getting Your Ferment Started
Now that you know how much honey you’ll need for your ferment, what water to use, and the importance of cleanliness, you can get it started. The first thing you need to do is mix your honey with some warm (but not hot!) water to dissolve it and ensure that it diffuses evenly through the total water volume. ~ 30C is the perfect temperature - any hotter and you run the risk of killing your yeast, any cooler and you might find it difficult to stir.
Stirring honey into a small amount of warm water before it gets added to a bigger fermenter for an ambrosia.
If it’s a large ferment, you’ll probably want to mix your honey with a little bit of water in a smaller vessel, say a bucket, and then add it into the larger fermenting vessel. If you do this BEFORE adding the rest of the water, it will probably mix really well on its own when you add the rest of the water, just through splashing and turbulence. If that’s not possible, it might be a good idea to give it a stir with a large spatula or similar tool, just to get the process of diffusion started.
If you don’t mix your honey with a bit of water and just dump it straight in, you run the risk of it sinking to the bottom of the fermenter since honey is heavier than water and failing to mix. If that happens, it will take a lot longer to ferment and/or you run the risk of developing mould on the top of your ferment (depending on how much air there is in your fermenter).
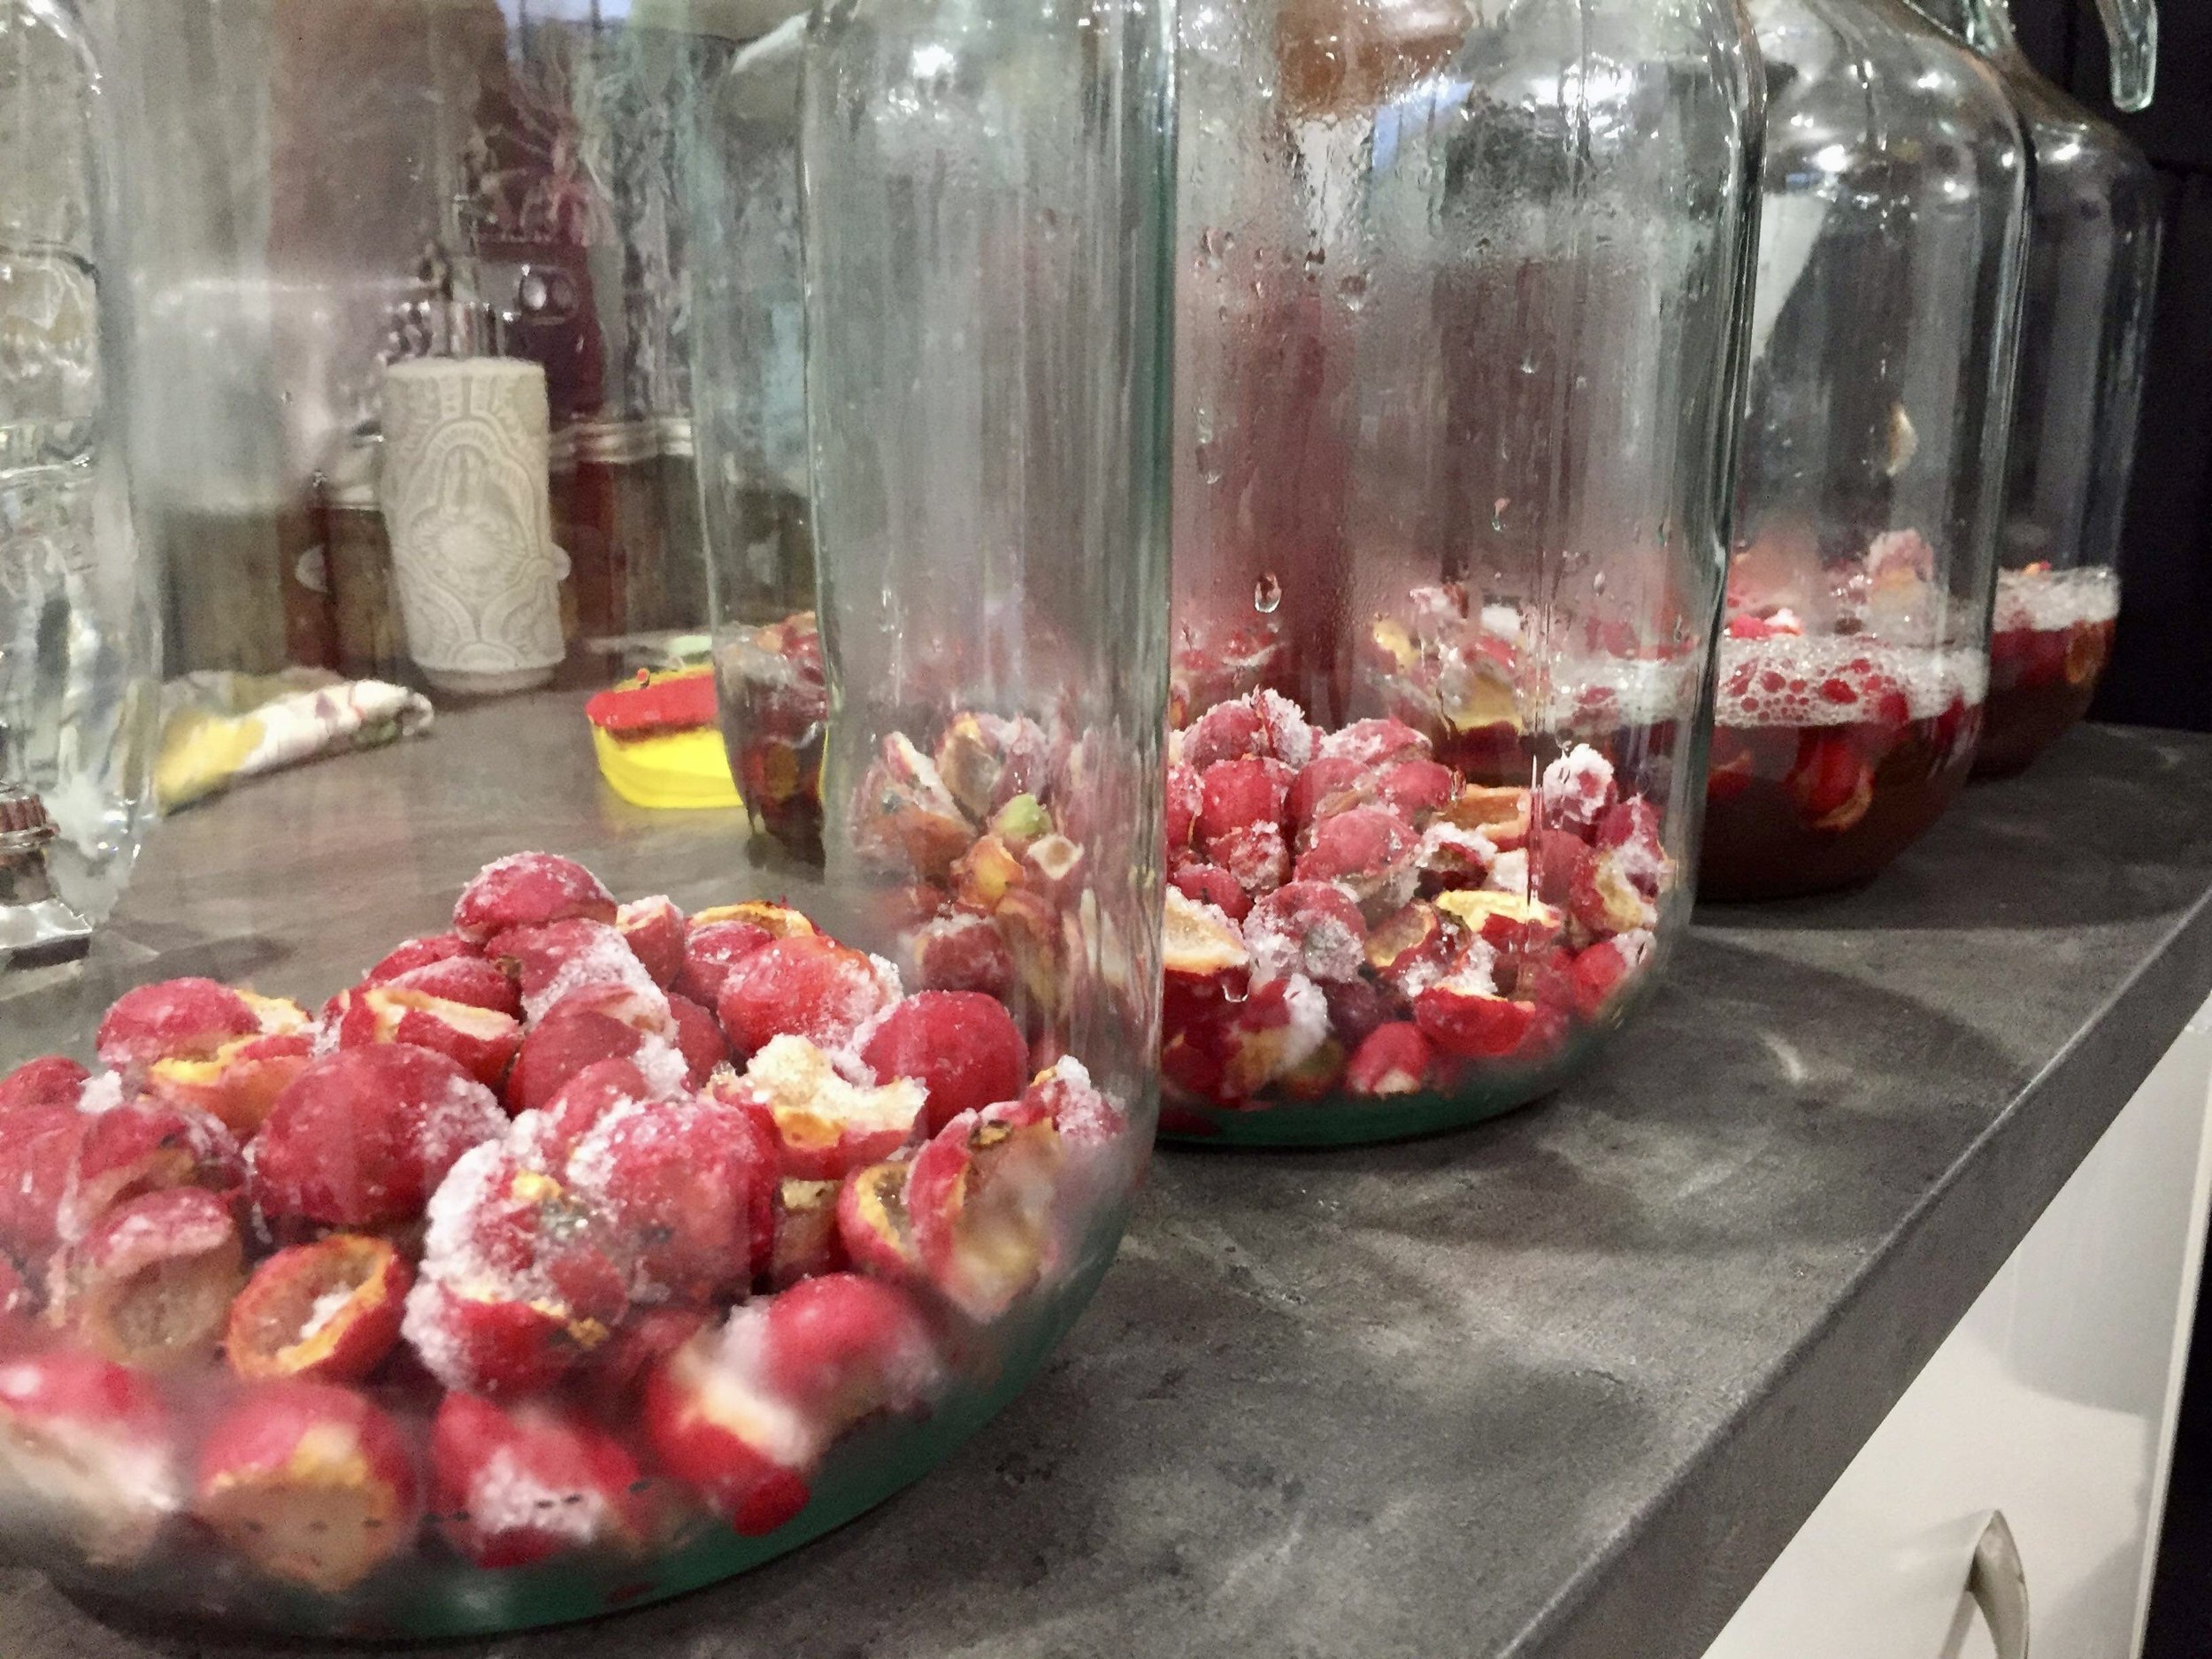
If you’re planning on infusing something in your ferment, now is probably the best time to add it in. Because the ferment will be warmer and more biochemically active during the actual fermentation phase, it will draw out more flavour & aroma, plus can help with the fermentation process by providing the yeast with fibre, as well as helping with temperature regulation.
The last thing you need to think about when putting your ferment on initially is air. Alcoholic fermentation is an anaerobic process - meaning it takes place in the absence of oxygen. You should have no or very little headspace in your fermenter, particularly when starting out with a basic ambrosia. I felt sorry for a TV presenter a few years ago when they enthusiastically put on a mead ferment in a demijohn that was only half full, meaning it was exposed to air. When they came back to taste it a few months later and weren’t happy with the results, I wasn’t surprised - they’d made vinegar, not mead. Refer back to our previous post if you’re not sure why this might happen.
Managing Your Ferment
Once your ferment is on, it probably won’t need all that much management unless you’ve put loads of fruit and/or botanicals in it, which I’ll explain in a moment. But there are three key considerations that you need to keep in mind as your ambrosia ferments;
Temperature - yeast are viable between ~6-40C, but they are at their most active between 15-35C. If you have a temperature strip, put it on the outside of your fermenter and keep an eye on it. If it gets too hot and you notice it stops fermenting, you may need to add some more honey and/or fruit in, to re-introduce a viable yeast population. If it gets too cold, simply get it warm again and the yeast will reactivate by themselves, though you can give them a hand by stirring it, so they have ready access to the sugars. You can regulate the temperature using heated blankets, heating pads, simply wrapping it in a blanket or towel or, if the problem is that it’s too warm, place the entire fermenter in a water or ice bath. Or, just move it to a more suitable spot. If you’re really fancy, you can also use a temperature-regulated fermenter.
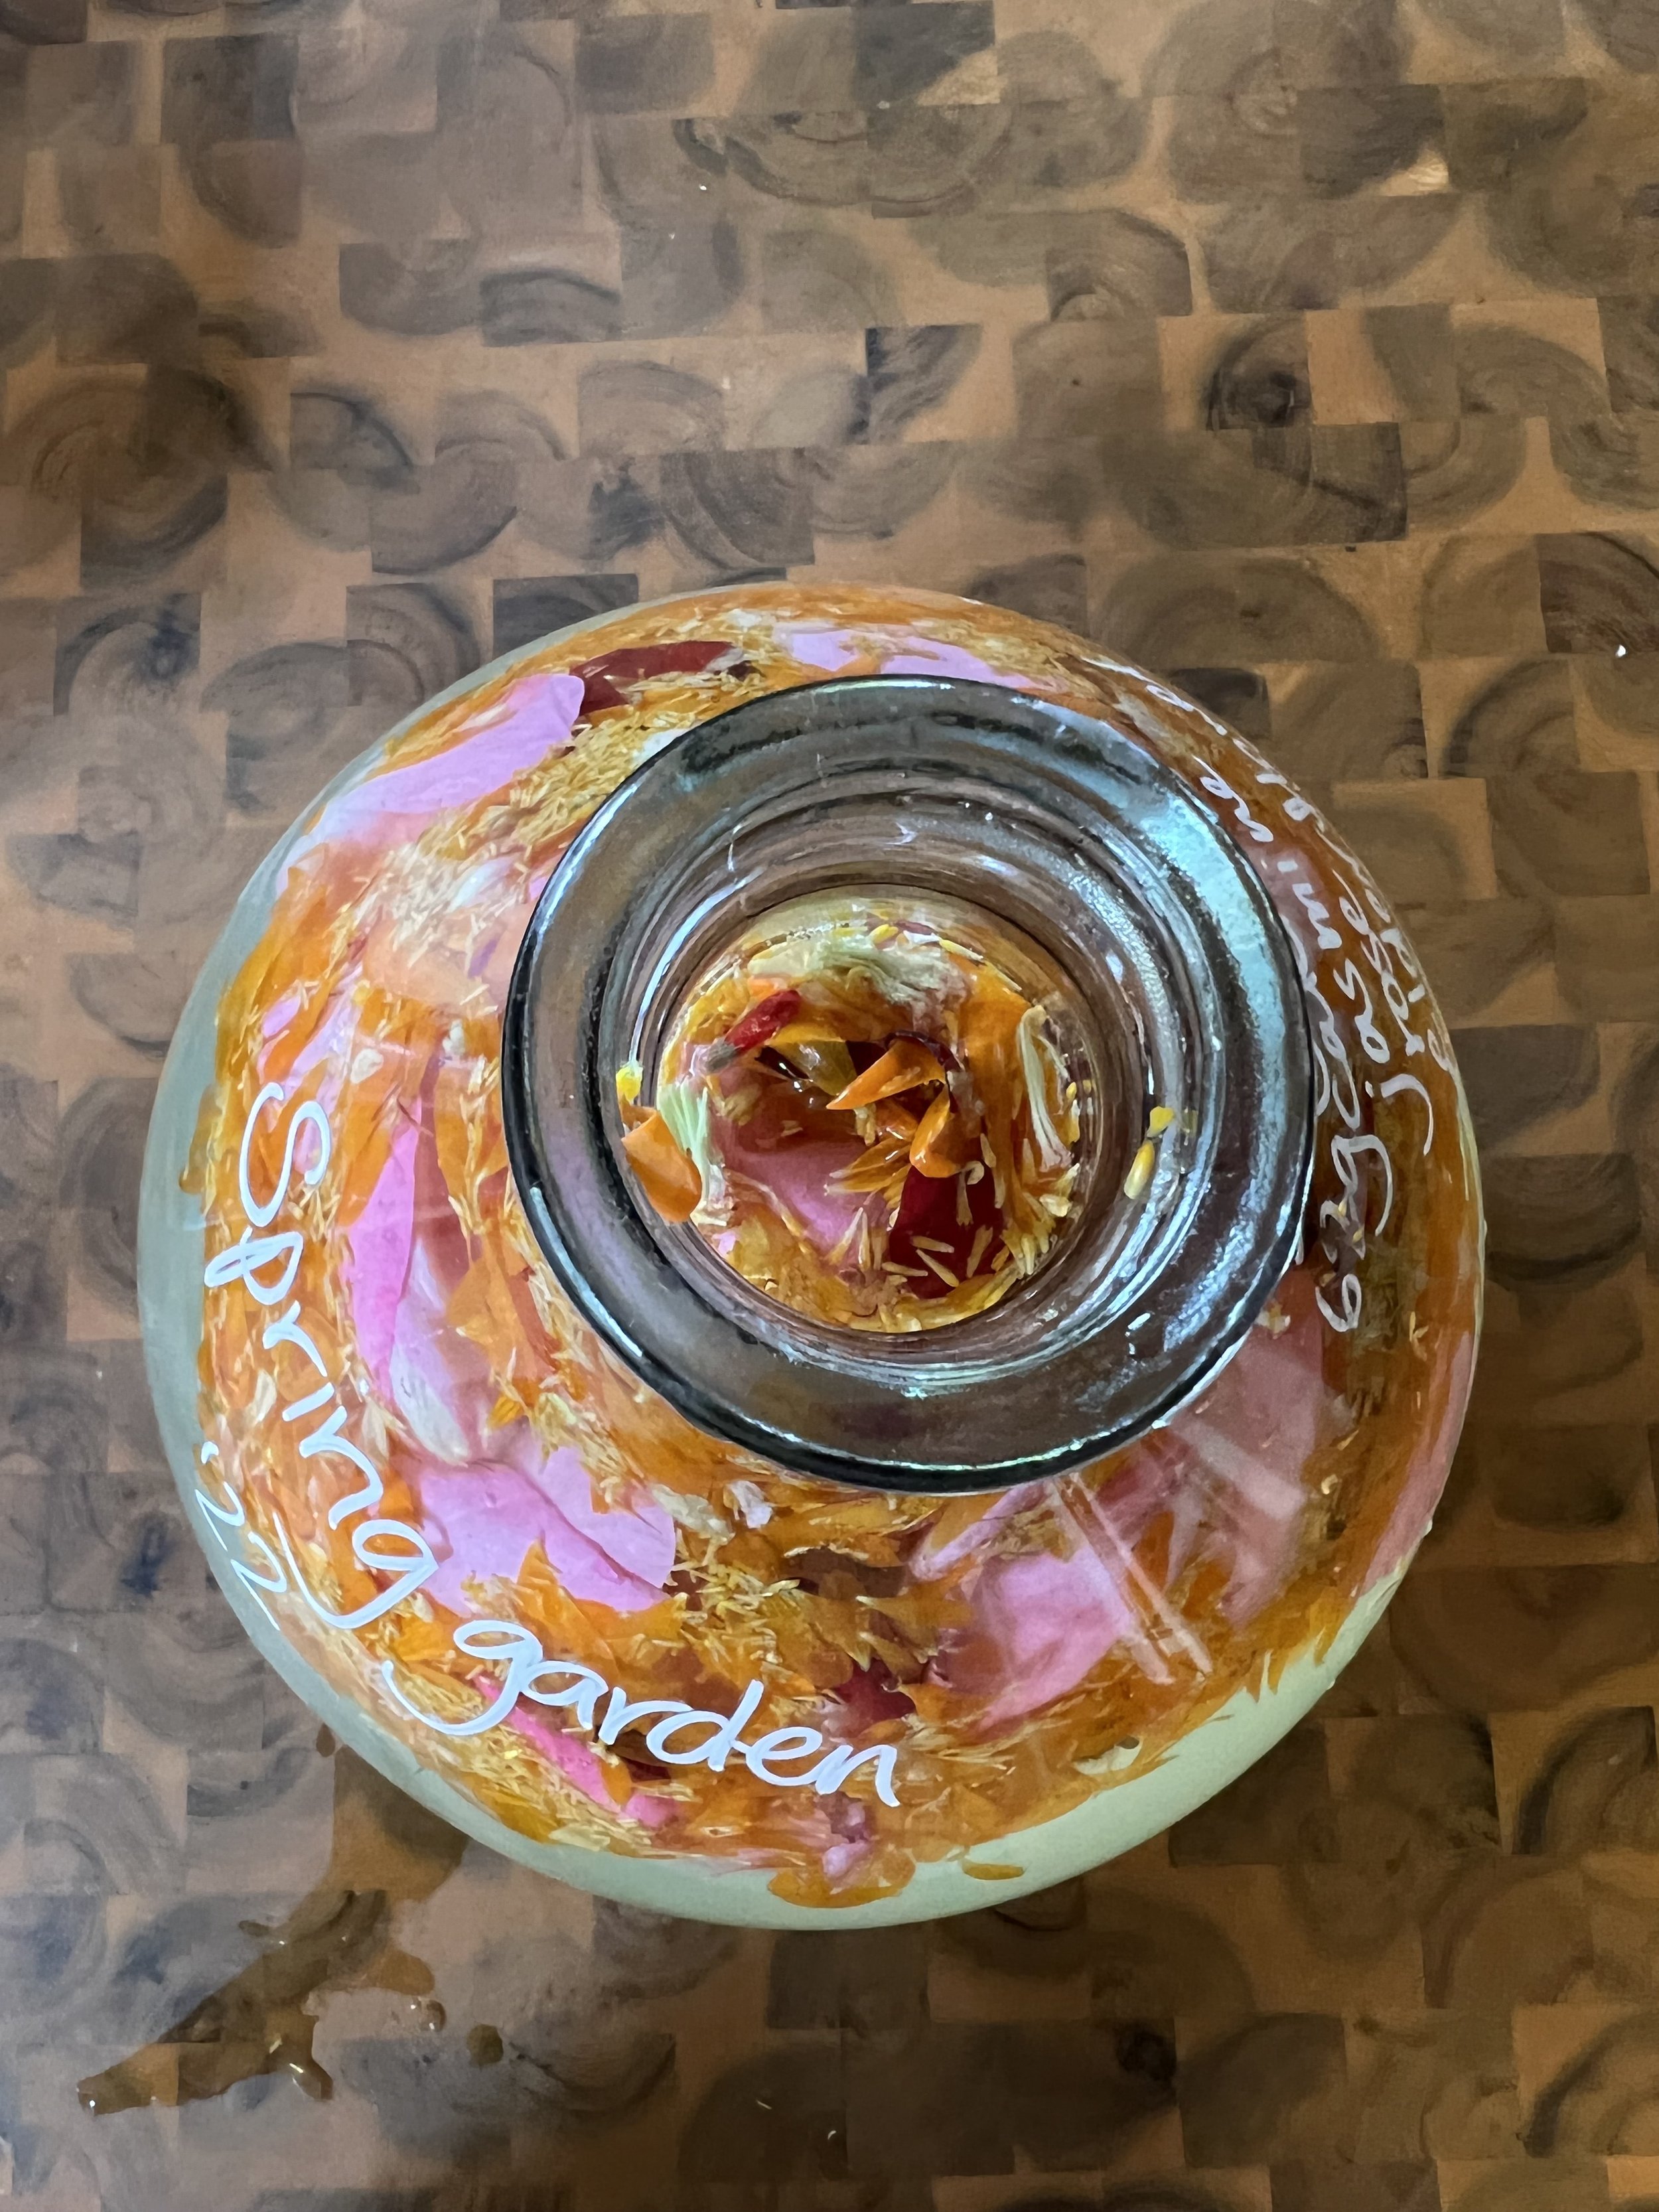
Keep the ambrosia away from direct sunlight as it can damage yeast and slow or stop your ferment. This shouldn’t really be a problem unless you’re fermenting in say, a clear glass vessel, like a demijohn, in which case you could simply wrap it in a towel to keep the sunlight out.
If your ambrosia gets mould on it, don’t fret unless it’s black mould. Some black moulds are harmless but some aren’t and it’s difficult to tell the difference. Most other moulds are fine though, but they will affect aroma and flavour if you don’t remove them quickly. Just scrape them off the top of your ferment, give it a good stir to submerge any bits leftover. You should learn from this experience as well: moulds are obligate anaerobes, meaning they need oxygen to survive. If your ferment has developed a mould, you’ve left too much air space in it. Make sure it’s filled right to the top of the fermenter so you don’t get the same problem again.
If you have loads of ingredients infusing in your ambrosia, you’ll probably need to plunge it (also known as punching down) fairly often. When the ferment is really active, once or even twice a day may be necessary. To plunge down, simply push the cap of fruit/botanicals, which will form on top of the ferment, down beneath the liquid until all of the cap has been saturated. This will help with extraction, as well as preventing mould from forming on the cap and any unwanted aerobic fermentation. Remember, we’re not making vinegar! If you have a really larger ferment and plunging by hand isn’t feasible, you may want to use a pump (you can get small magnetic pumps from homebrewing stores) to pump some of the liquid over the cap, which will do a very similar job to plunging.
Conclusion

Ambrosia. Nectar of the Gods.
That’s it for part one in this series. It’s a brief overview but I hope it’s been helpful in demystifying the art of fermentation, as well as maybe giving you a little bit of inspiration.
Keep an eye out for part two in this series, coming soon, where we’ll unveil the secrets to racking and bottling both still and naturally sparkling ambrosias.
And, if you to take your learning to the next level, consider signing up to our mailing list, so you can stay up to date with online courses and learning opportunities as they become available. Cheers!
- Lou xo